Complete GitHub Container Registry Guide: Container Image Management and CI/CD Deployment Tutorial
Why I’m Writing This Article
As the number of company projects increases, the environment requirements for each project have become more diverse. We decided to transform our originally Docker-built Android Jenkins Server into a more flexible architecture.
The new architecture includes a main Jenkins Server (Master) with multiple Android Build Environments (Slave). These slaves create clean environments through Docker, ensuring each build is performed in a consistent environment.
This article aims to document this transformation process. It serves not only as a personal learning review but also hopes to provide practical help to other developers facing similar challenges.
Article Overview
This article will guide two types of readers: CI/CD beginners and developers who want to understand GitHub’s new tools in depth. Through clear guides and practical tips, you will learn how to push container images to GitHub Container Registry.
I will demonstrate step by step how to set up GitHub Actions to fully automate the build and deployment process. This will make your development work more efficient while reducing the chance of human errors.
Before We Start
Before diving into GitHub Container Registry, we need to prepare a demo application. Let’s use the express framework to quickly build a simple application running on Node.js.
This application will serve as our foundation example for subsequent containerization and deployment.
Create Project Folder
First, we need to create a project folder for our demo application:
mkdir node_sample
cd node_sample
Install Express Package
Next, initialize the Node.js project and install the Express framework. The -y parameter will automatically accept all default settings:
npm init -y
npm install express
Create Application Main File
Now create the main file app.js for the application:
vim app.js
Paste the following code into the app.js file. This is a simple Express server that responds with “Hello, World!” at the root path:
const express = require("express");
const app = express();
const port = 3000;

app.get("/", (req, res) => {
  res.send("Hello, World!");
});

app.listen(port, () => {
  console.log(`Example app listening at http://localhost:${port}`);
});
Create .gitignore File
To avoid pushing unnecessary files to version control, we need to create a .gitignore file:
TIP
Please visit gitignore.io to generate a
.gitignorefile, select Node type.
Test the Application
Now let’s test if the application works correctly:
node app.js
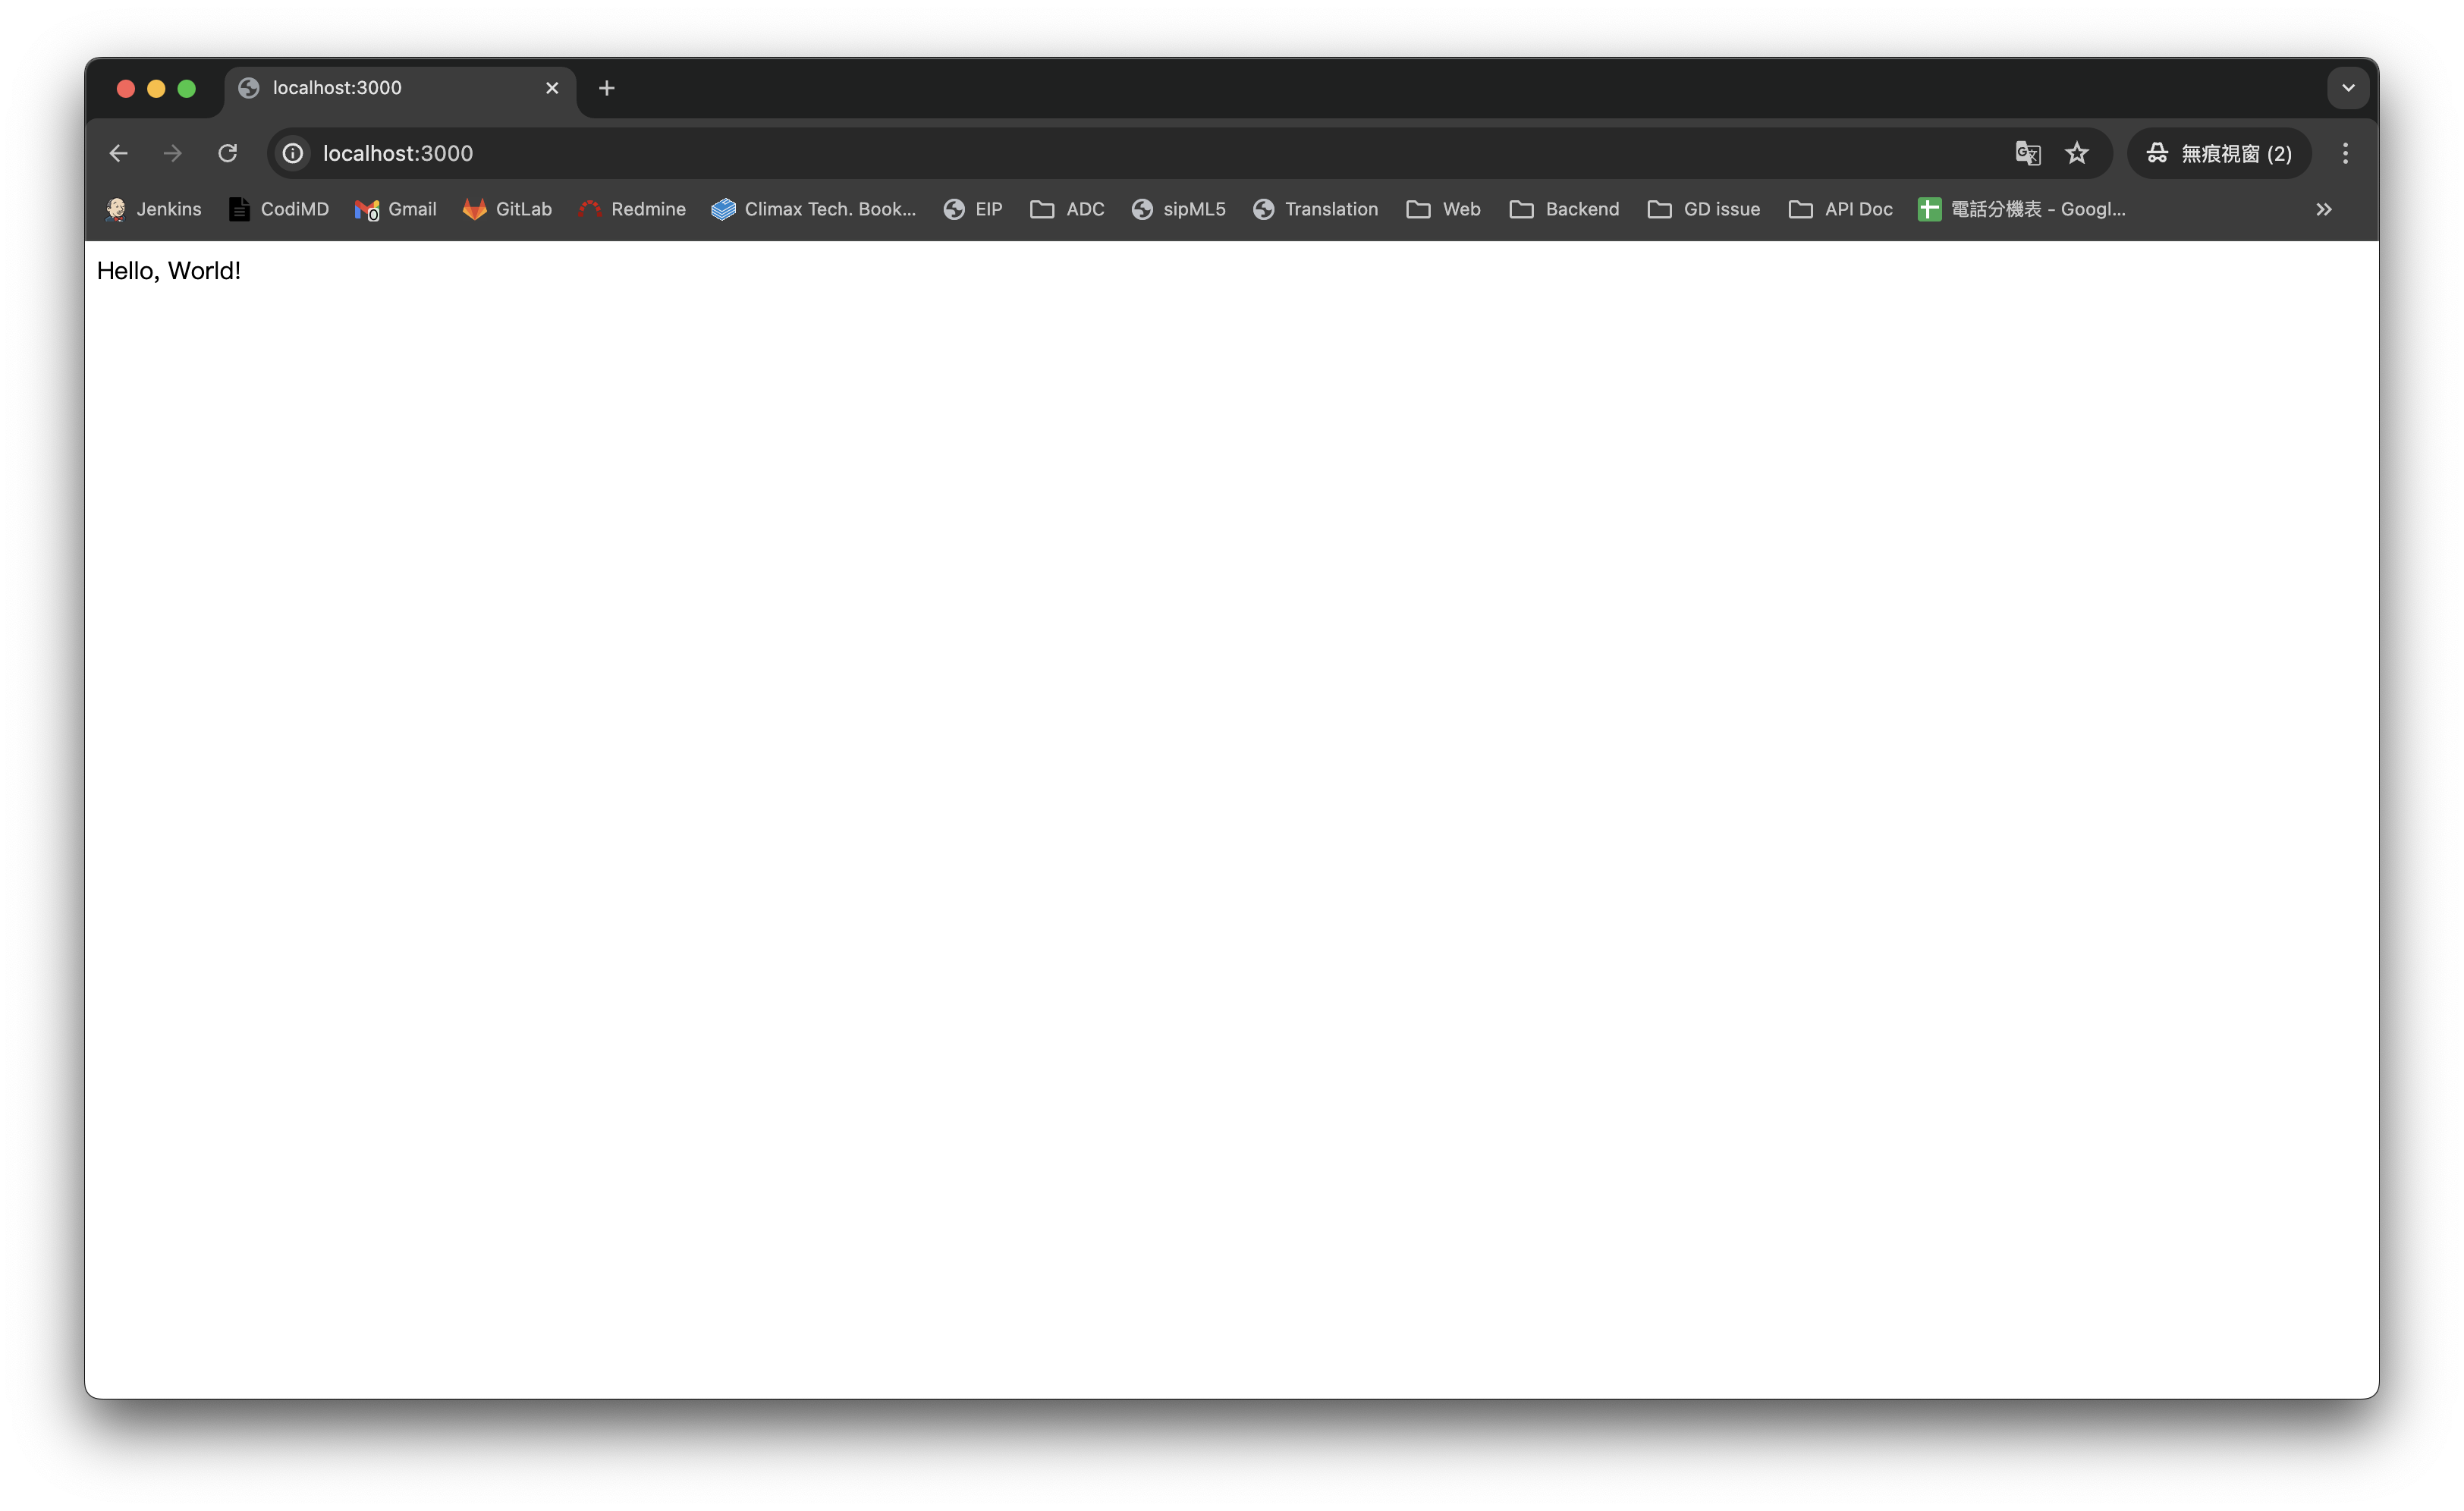
Open localhost:3000 in your browser, and you should see the following screen:

Create Dockerfile
Next, we’ll containerize the application. Dockerfile is a script file that tells Docker how to build container images:
vim Dockerfile
Add the following content to the Dockerfile. This file defines the container’s base image, working directory, files to copy, and startup commands:
FROM node:latest
WORKDIR /usr/src/app
COPY package*.json app.js ./
RUN npm install
EXPOSE 3000
CMD ["node", "app.js"]
Upload Docker Image to GitHub Container Registry
After completing the Dockerfile, we’ll upload the built container image to GitHub Container Registry (GHCR). GHCR is a container image hosting service provided by GitHub with high integration with GitHub accounts.
There are two ways to upload images to GHCR:
- Manual Upload via Command Line - Suitable for quick testing or one-time deployment
- Automated Upload via GitHub Actions - Suitable for Continuous Integration/Deployment (CI/CD) processes
Method 1: Manual Upload via Command Line
Let’s first learn how to manually upload container images via command line. This method allows you to directly control the entire upload process.
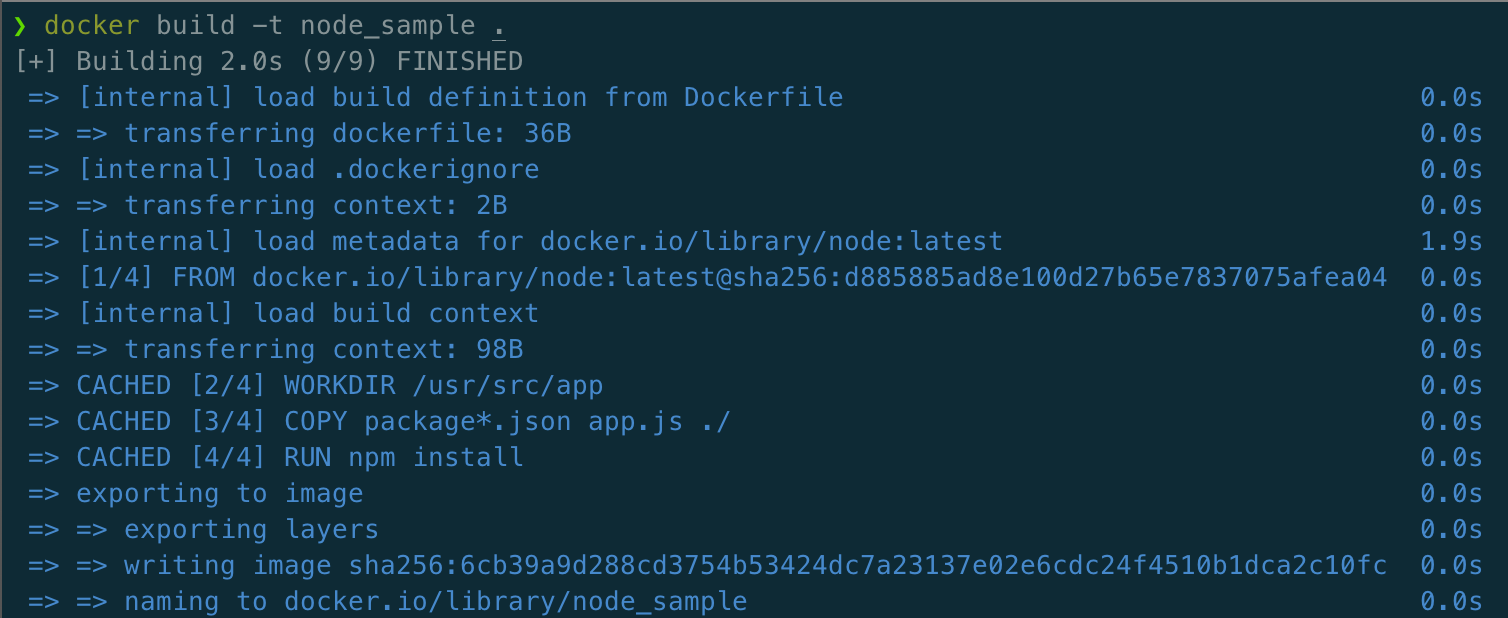
Step 1: Build Docker Image
Build the container image using the Dockerfile. The . indicates looking for the Dockerfile in the current directory:
docker build -t node_sample .

Step 2: Check Build Result
Verify if the image was built successfully:
docker images
You should see the node_sample image that was just built appear in the list.

Step 3: Tag the Image
To upload to GHCR, we need to tag the image with a name that conforms to GHCR format:
docker tag node_sample:latest ghcr.io/{NAMESPACE}/node_sample:latest
TIP
Remember to replace
{NAMESPACE}with your GitHub username. For example:ghcr.io/john-doe/node_sample:latest
Step 4: Generate Personal Access Token
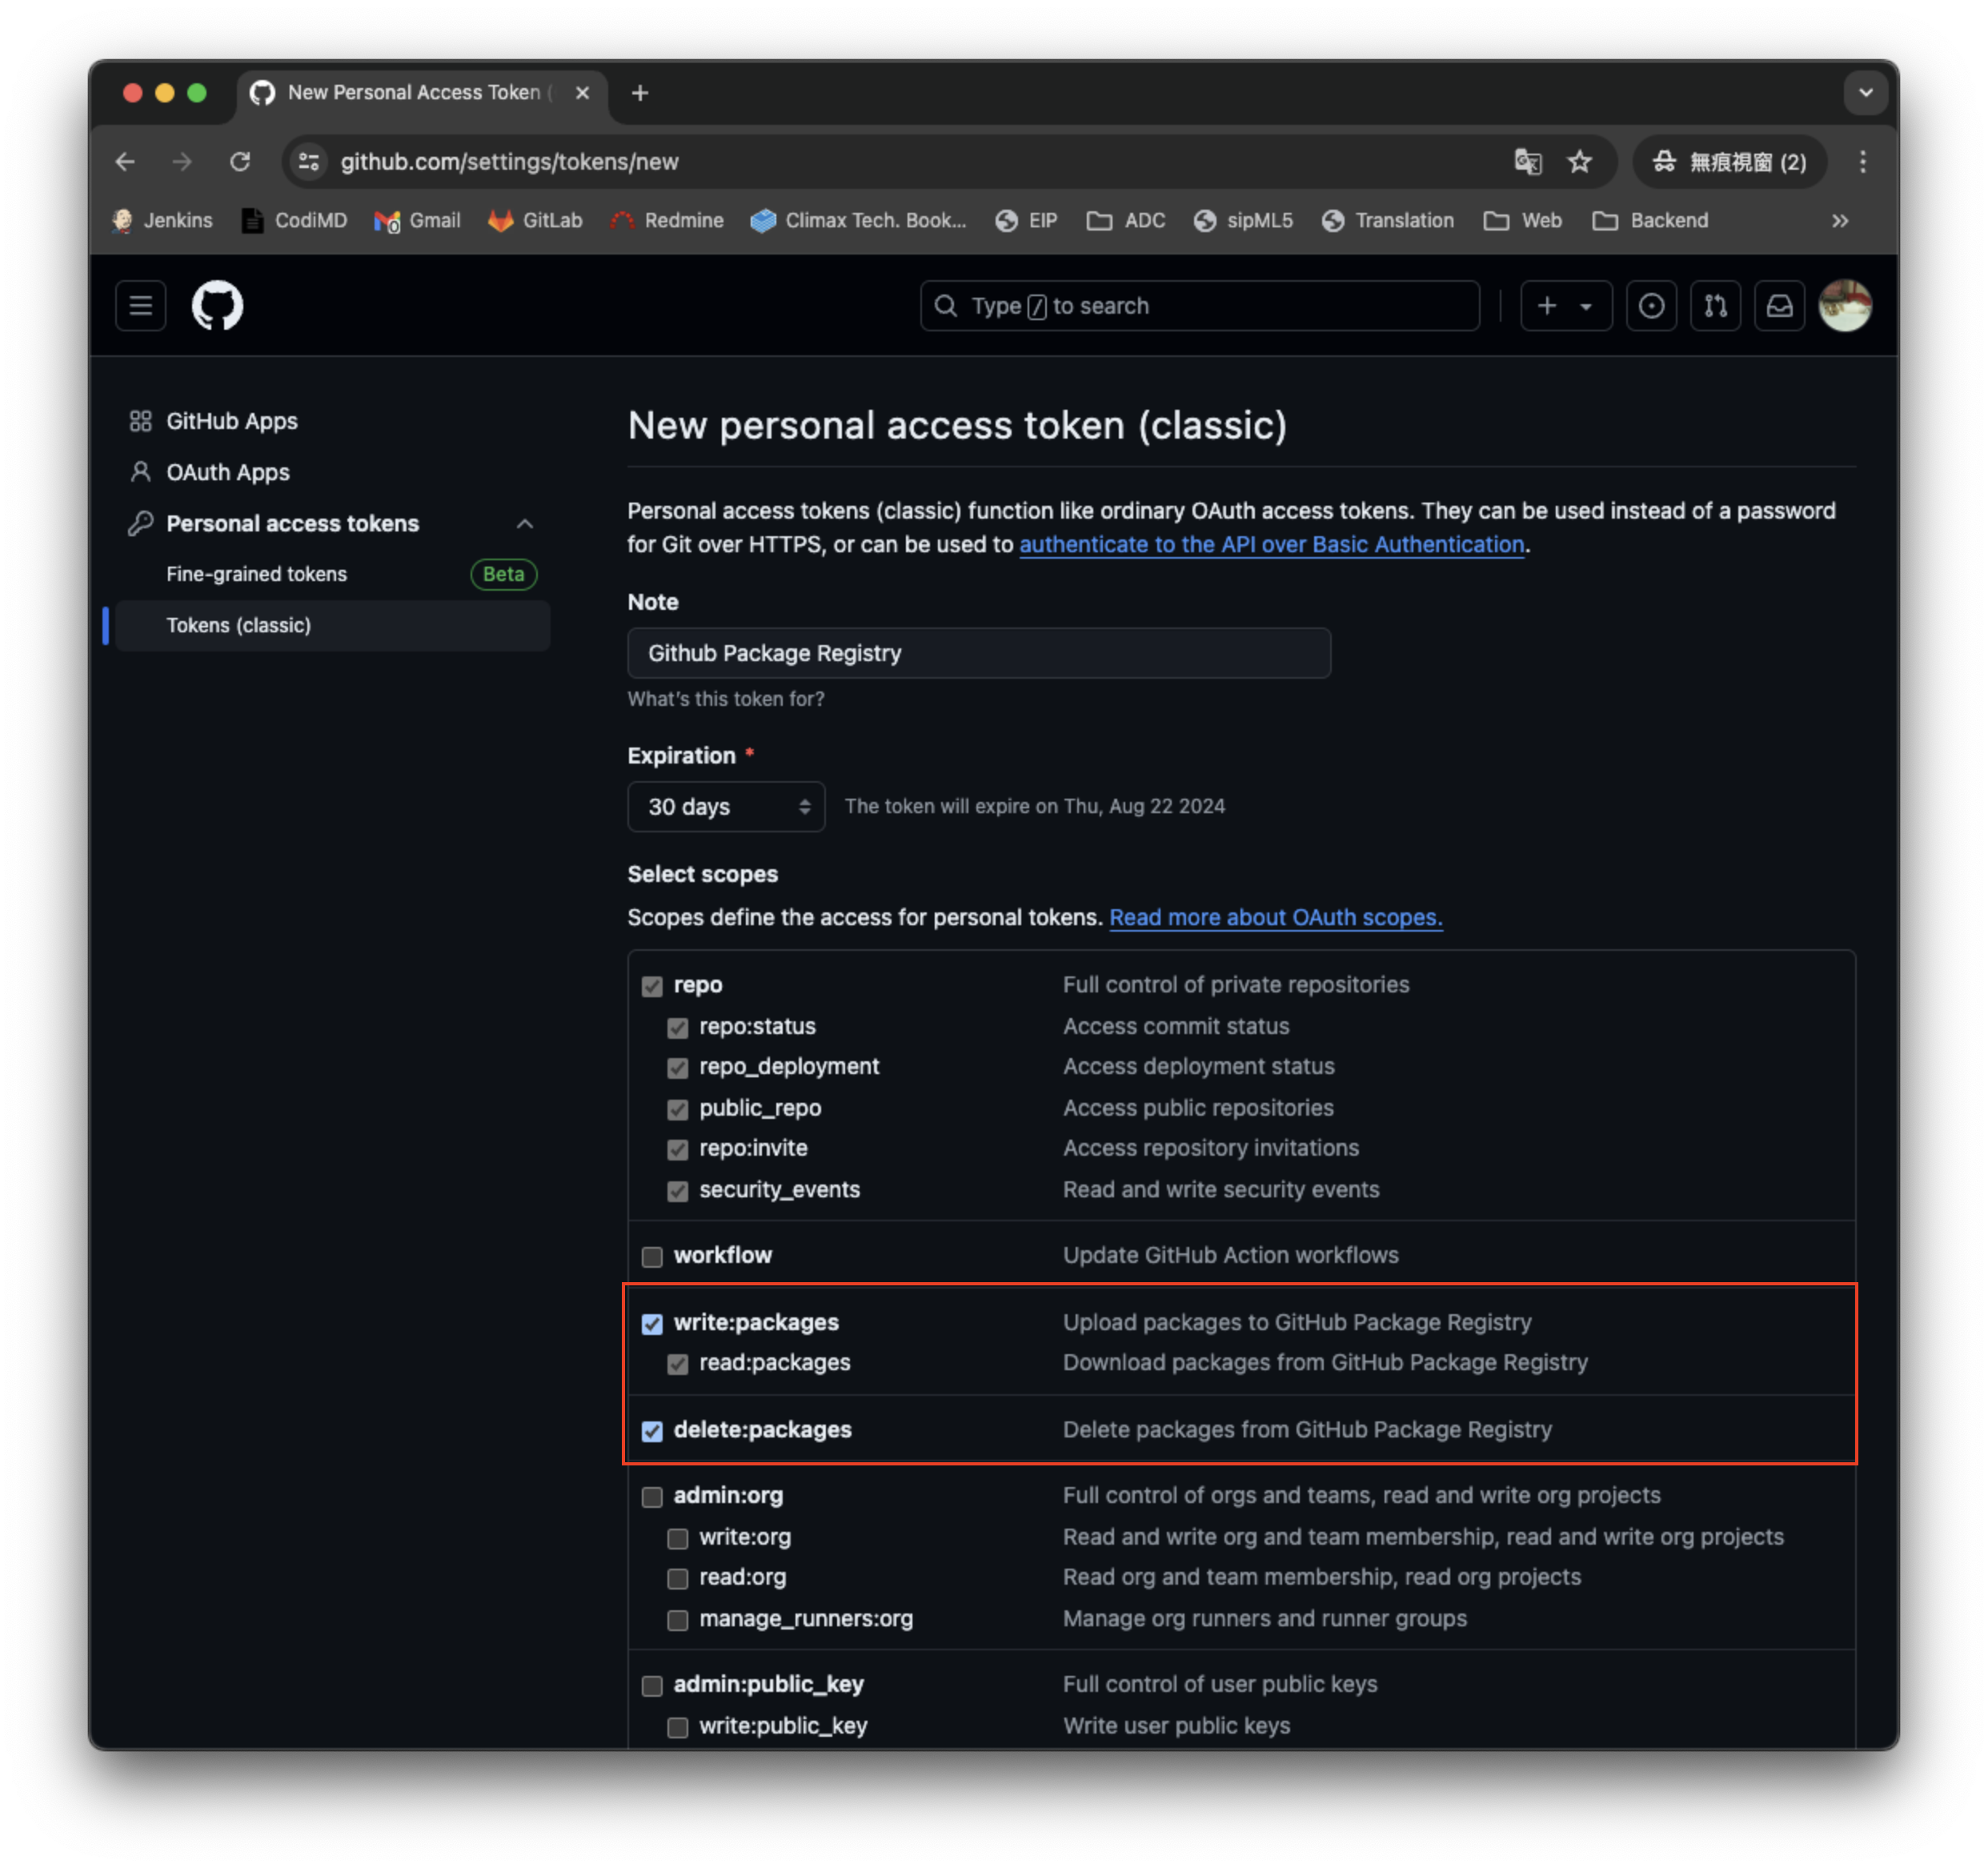
Before logging into GHCR, we need to generate a Personal Access Token for authentication.
Follow these steps to generate a token on GitHub:
Open GitHub → Top right Profile → Settings → Developer settings → Personal access tokens → Tokens (classic) → Generate new token
In the permissions settings, please check the following three package-related permissions:
-
write:packages- Upload package permission -
read:packages- Read package permission -
delete:packages- Delete package permission

Step 5: Login to GitHub Container Registry
Use the token you just generated to log into GHCR. First set the environment variable:
export CR_PAT=YOUR_TOKEN
Then use the Docker login command:
echo $CR_PAT | docker login ghcr.io -u USERNAME --password-stdin
Seeing the “Login Succeeded” message indicates successful login!
Step 6: Push Image to GHCR
Now you can push the image to GitHub Container Registry:
docker push ghcr.io/{NAMESPACE}/node_sample:latest
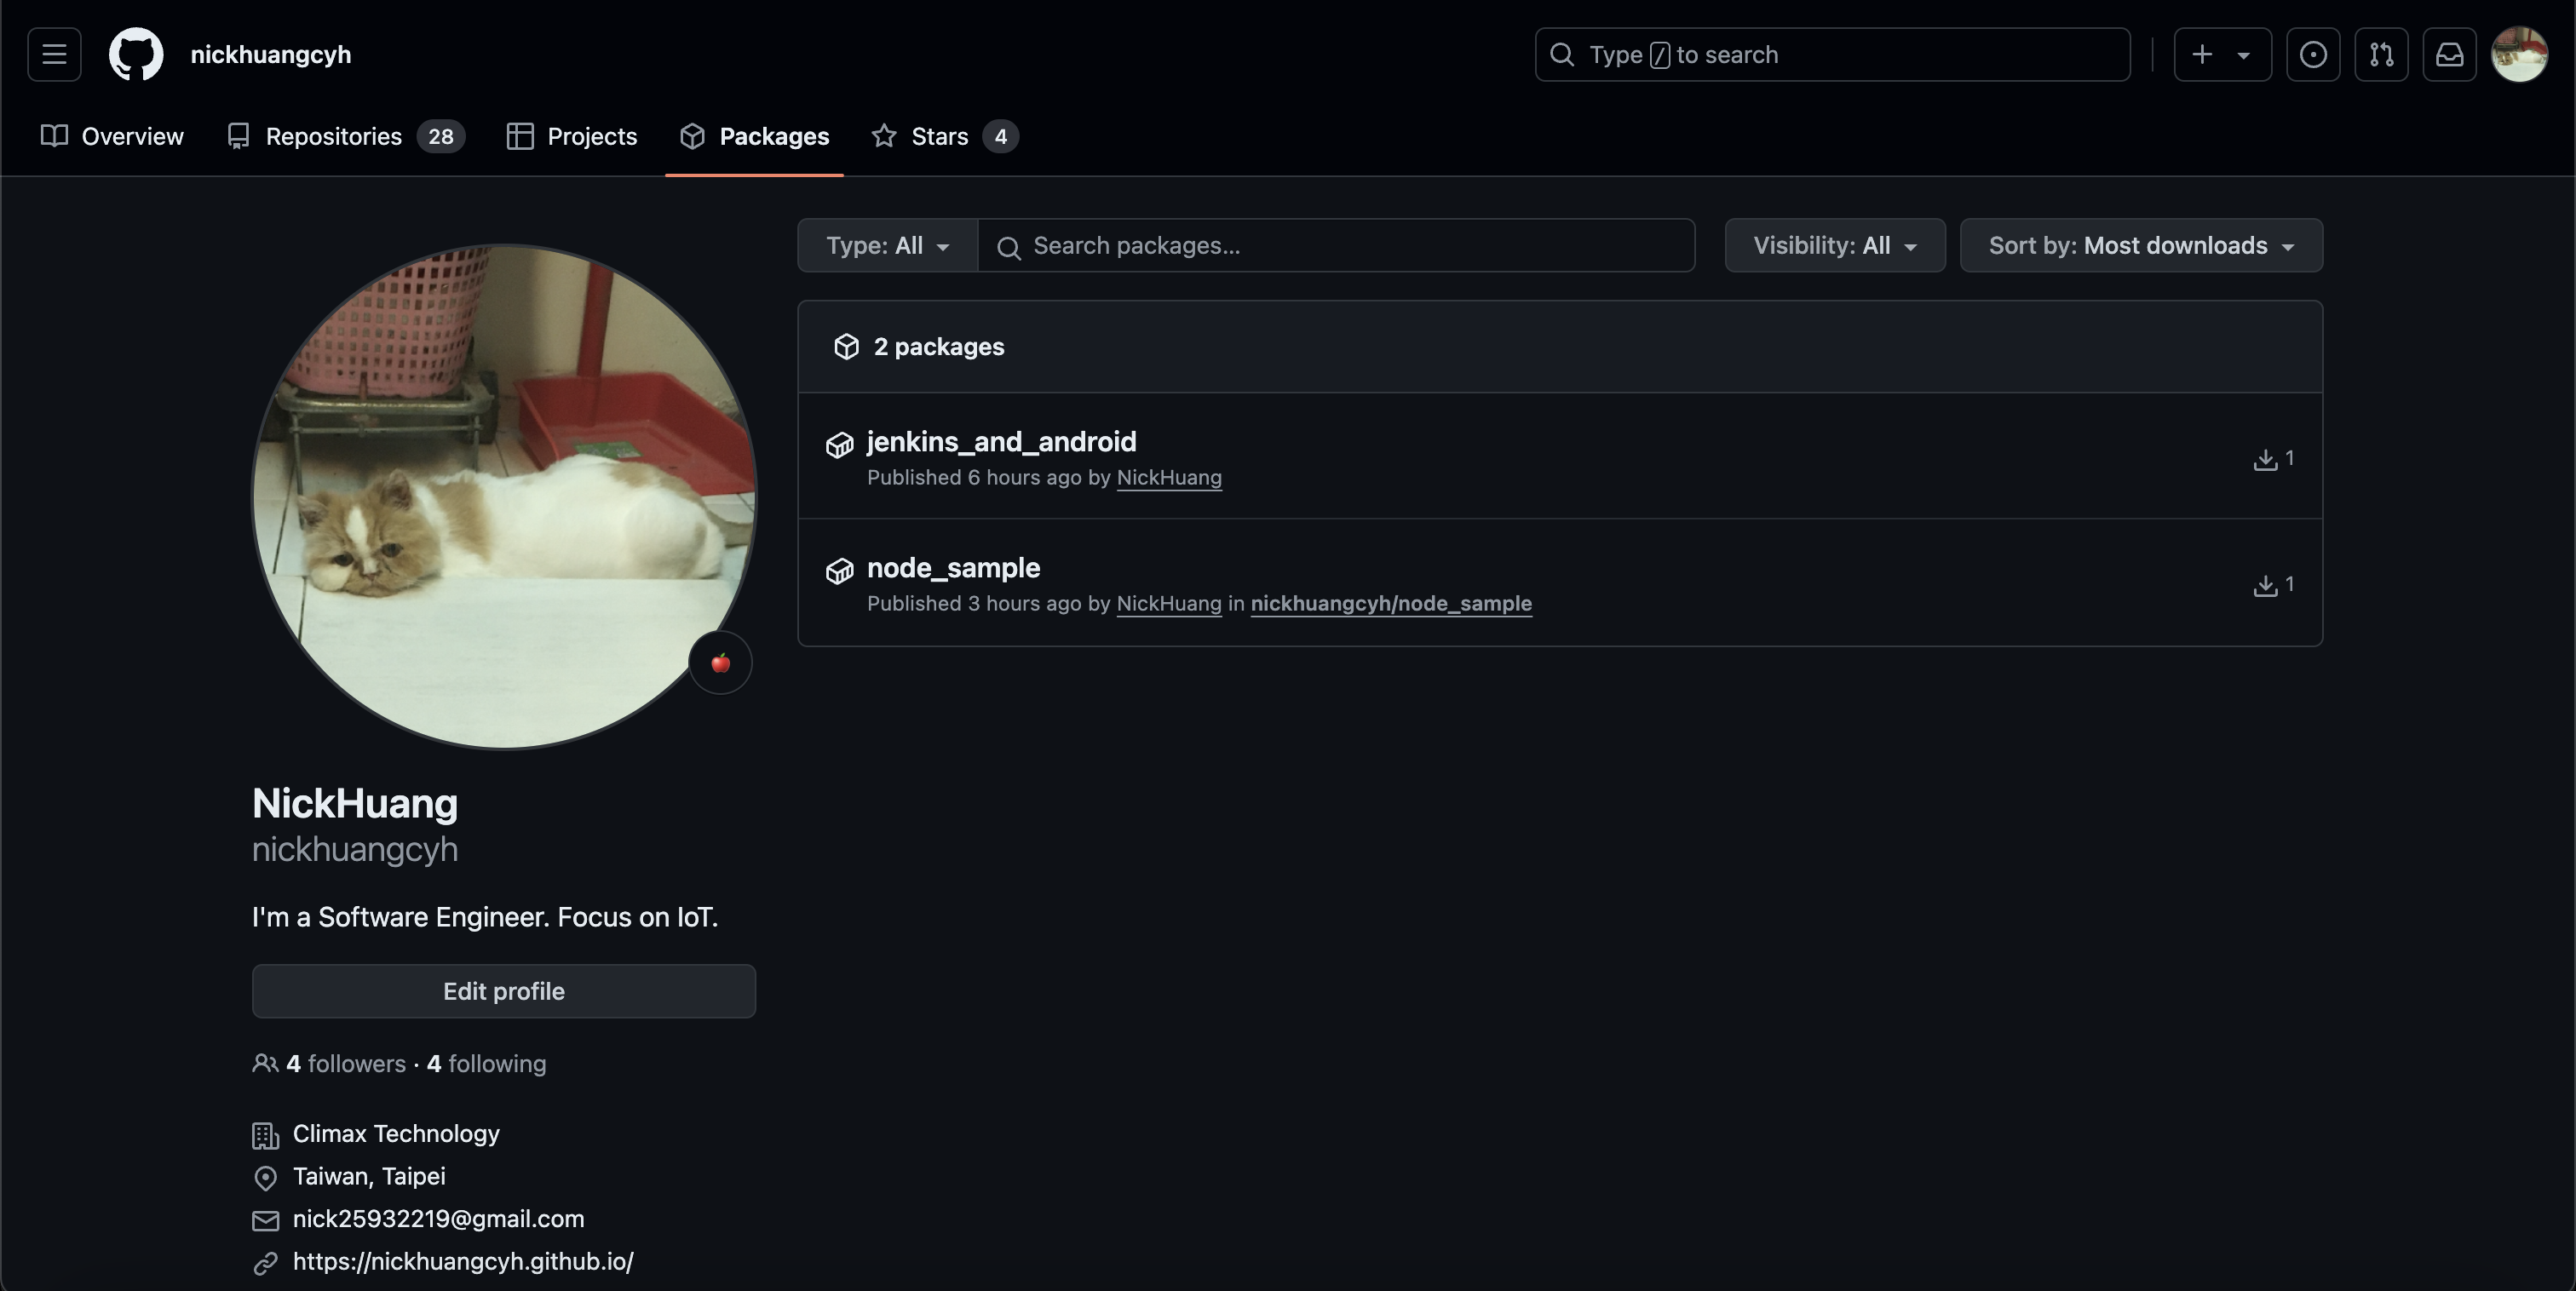
After the push is complete, you can see the container image you just uploaded on GitHub’s Packages page.

Method 2: Automated Upload Using GitHub Actions
Compared to manual upload, GitHub Actions provides a more elegant automated solution. It automatically builds and pushes container images whenever there are code changes, significantly improving development efficiency.
Advantages of GitHub Actions include:
- Automatic Triggering: Executes automatically when code is pushed
- No Local Environment Needed: Runs in GitHub’s cloud environment
- Built-in Permission Management: No need to manually set access tokens
Create Workflow File
First, create a GitHub Actions workflow file in your project:
mkdir -p .github/workflows
vim .github/workflows/deploy-image.yml
Paste the following YAML configuration into the file. This workflow will execute automatically when pushed to the release branch:
name: Create and publish a Docker image
on:
  push:
    branches: ["release"]
env:
  REGISTRY: ghcr.io
  IMAGE_NAME: $

jobs:
  build-and-push-image:
    runs-on: ubuntu-latest
    permissions:
      contents: read
      packages: write
      attestations: write
      id-token: write
    steps:
      - name: Checkout repository
        uses: actions/checkout@v4
      - name: Log in to the Container registry
        uses: docker/login-action@v2
        with:
          registry: $
          username: $
          password: $
      - name: Extract metadata (tags, labels) for Docker
        id: meta
        uses: docker/metadata-action@v4
        with:
          images: $/$
      - name: Build and push Docker image
        id: push
        uses: docker/build-push-action@v5
        with:
          context: .
          push: true
          tags: $
          labels: $
      - name: Generate artifact attestation
        uses: actions/attest-build-provenance@v1
        with:
          subject-name: $/$
          subject-digest: $
          push-to-registry: true
Workflow Configuration Explanation
This GitHub Actions workflow includes the following key configurations:
- Trigger Condition: Executes when pushed to the
releasebranch - Permission Settings: Includes permissions to read code and write packages
- Execution Steps: Automatically checks out code, logs into GHCR, builds and pushes images
Push Project to GitHub
Now push the complete node_sample project to a GitHub repository. It’s recommended to first push to the main branch, then create a release branch to trigger the automated process:
git init
git add .
git commit -m "Initial commit with Node.js app and GitHub Actions workflow"
git branch -M main
git remote add origin https://github.com/YOUR_USERNAME/node_sample.git
git push -u origin main

# Create and push release branch to trigger workflow
git checkout -b release
git push -u origin release
When you push to the release branch, GitHub Actions will automatically execute the following process:
- Check out code
- Build Docker image
- Push to GitHub Container Registry

Using the Uploaded Container Image
Once the container image is successfully uploaded to GHCR, you and other developers can use this image anywhere. Here are two common usage methods:
Method 1: Direct Download and Run
Use Docker commands to directly download and run the container from GHCR:
docker pull ghcr.io/nickhuangcyh/node_sample:TAG
docker run -p 3000:3000 ghcr.io/nickhuangcyh/node_sample:TAG
Method 2: Use as Base Image
In other projects’ Dockerfiles, use the image on GHCR as a base image:
FROM ghcr.io/nickhuangcyh/node_sample:TAG
# Add additional configuration or applications on this basis
This method is particularly suitable for building composite applications or customizing existing images.

TIP
You can download the complete code of
node_samplefrom node_sample for practice.
Summary
Through this article’s learning, you have mastered two ways to use GitHub Container Registry:
Manual upload method is suitable for quick testing and learning, helping you understand each step of the entire containerization process.
GitHub Actions automation method is the best choice for production environments, providing reliable CI/CD integration. When there are any code changes, the system automatically builds new container images and deploys them, significantly improving development team efficiency.
Next, you can try applying these technologies to your own projects or explore more advanced GitHub Actions features such as multi-stage builds, conditional deployment, etc.
Enjoy Reading This Article?
Here are some more articles you might like to read next: