Complete Guide: Getting Started with GitHub Container Registry (GHCR)
🚀 Why GitHub Container Registry Matters
As our company’s project portfolio grew, each project’s environment requirements became increasingly diverse. We decided to transform our Docker-built Android Jenkins Server into a more flexible architecture: a main Jenkins Server (Master) paired with multiple Android Build Environment (Slave) instances, the latter created through Docker for clean environments. This article documents this transformation process, serving both as a personal learning review and a helpful resource for other developers.
Key Benefits of GitHub Container Registry:
- 🆓 Free for public packages - No cost for open-source projects
- 🔒 Integrated security - Built-in vulnerability scanning
- 🔄 GitHub Actions integration - Seamless CI/CD workflows
- 📦 Package management - Centralized container image storage
- 🛡️ Access control - Fine-grained permissions management
📋 Article Overview
This comprehensive guide will walk beginners and developers who want to deeply understand how to integrate GitHub’s new tools into their CI/CD workflows. Through clear instructions and practical tips, you’ll learn how to push container images to GitHub Container Registry. I’ll demonstrate step-by-step how to set up GitHub Actions to automate the build and deployment process, making your development work more efficient.
What You’ll Learn:
- 🐳 Docker image creation and management
- 🔧 GitHub Container Registry setup and configuration
- ⚡ GitHub Actions automation for container builds
- 🔐 Security best practices for container images
- 📊 CI/CD pipeline integration strategies
🛠️ Prerequisites and Setup
Before diving into the main topic, let’s quickly set up a simple Node.js application using the Express framework as our example project.
Step 1: Create Project Directory
mkdir node_sample
cd node_sample
Step 2: Initialize Node.js Project
npm init -y
npm install express
Step 3: Create Application File
vim app.js
Application Code:
const express = require("express");
const app = express();
const port = 3000;

app.get("/", (req, res) => {
  res.send("Hello, World!");
});

app.listen(port, () => {
  console.log(`Example app listening at http://localhost:${port}`);
});
Step 4: Create Gitignore File
💡 Pro Tip: Visit gitignore.io to generate a
.gitignorefile, select Node.js type for optimal configuration.
Step 5: Test the Application
node app.js
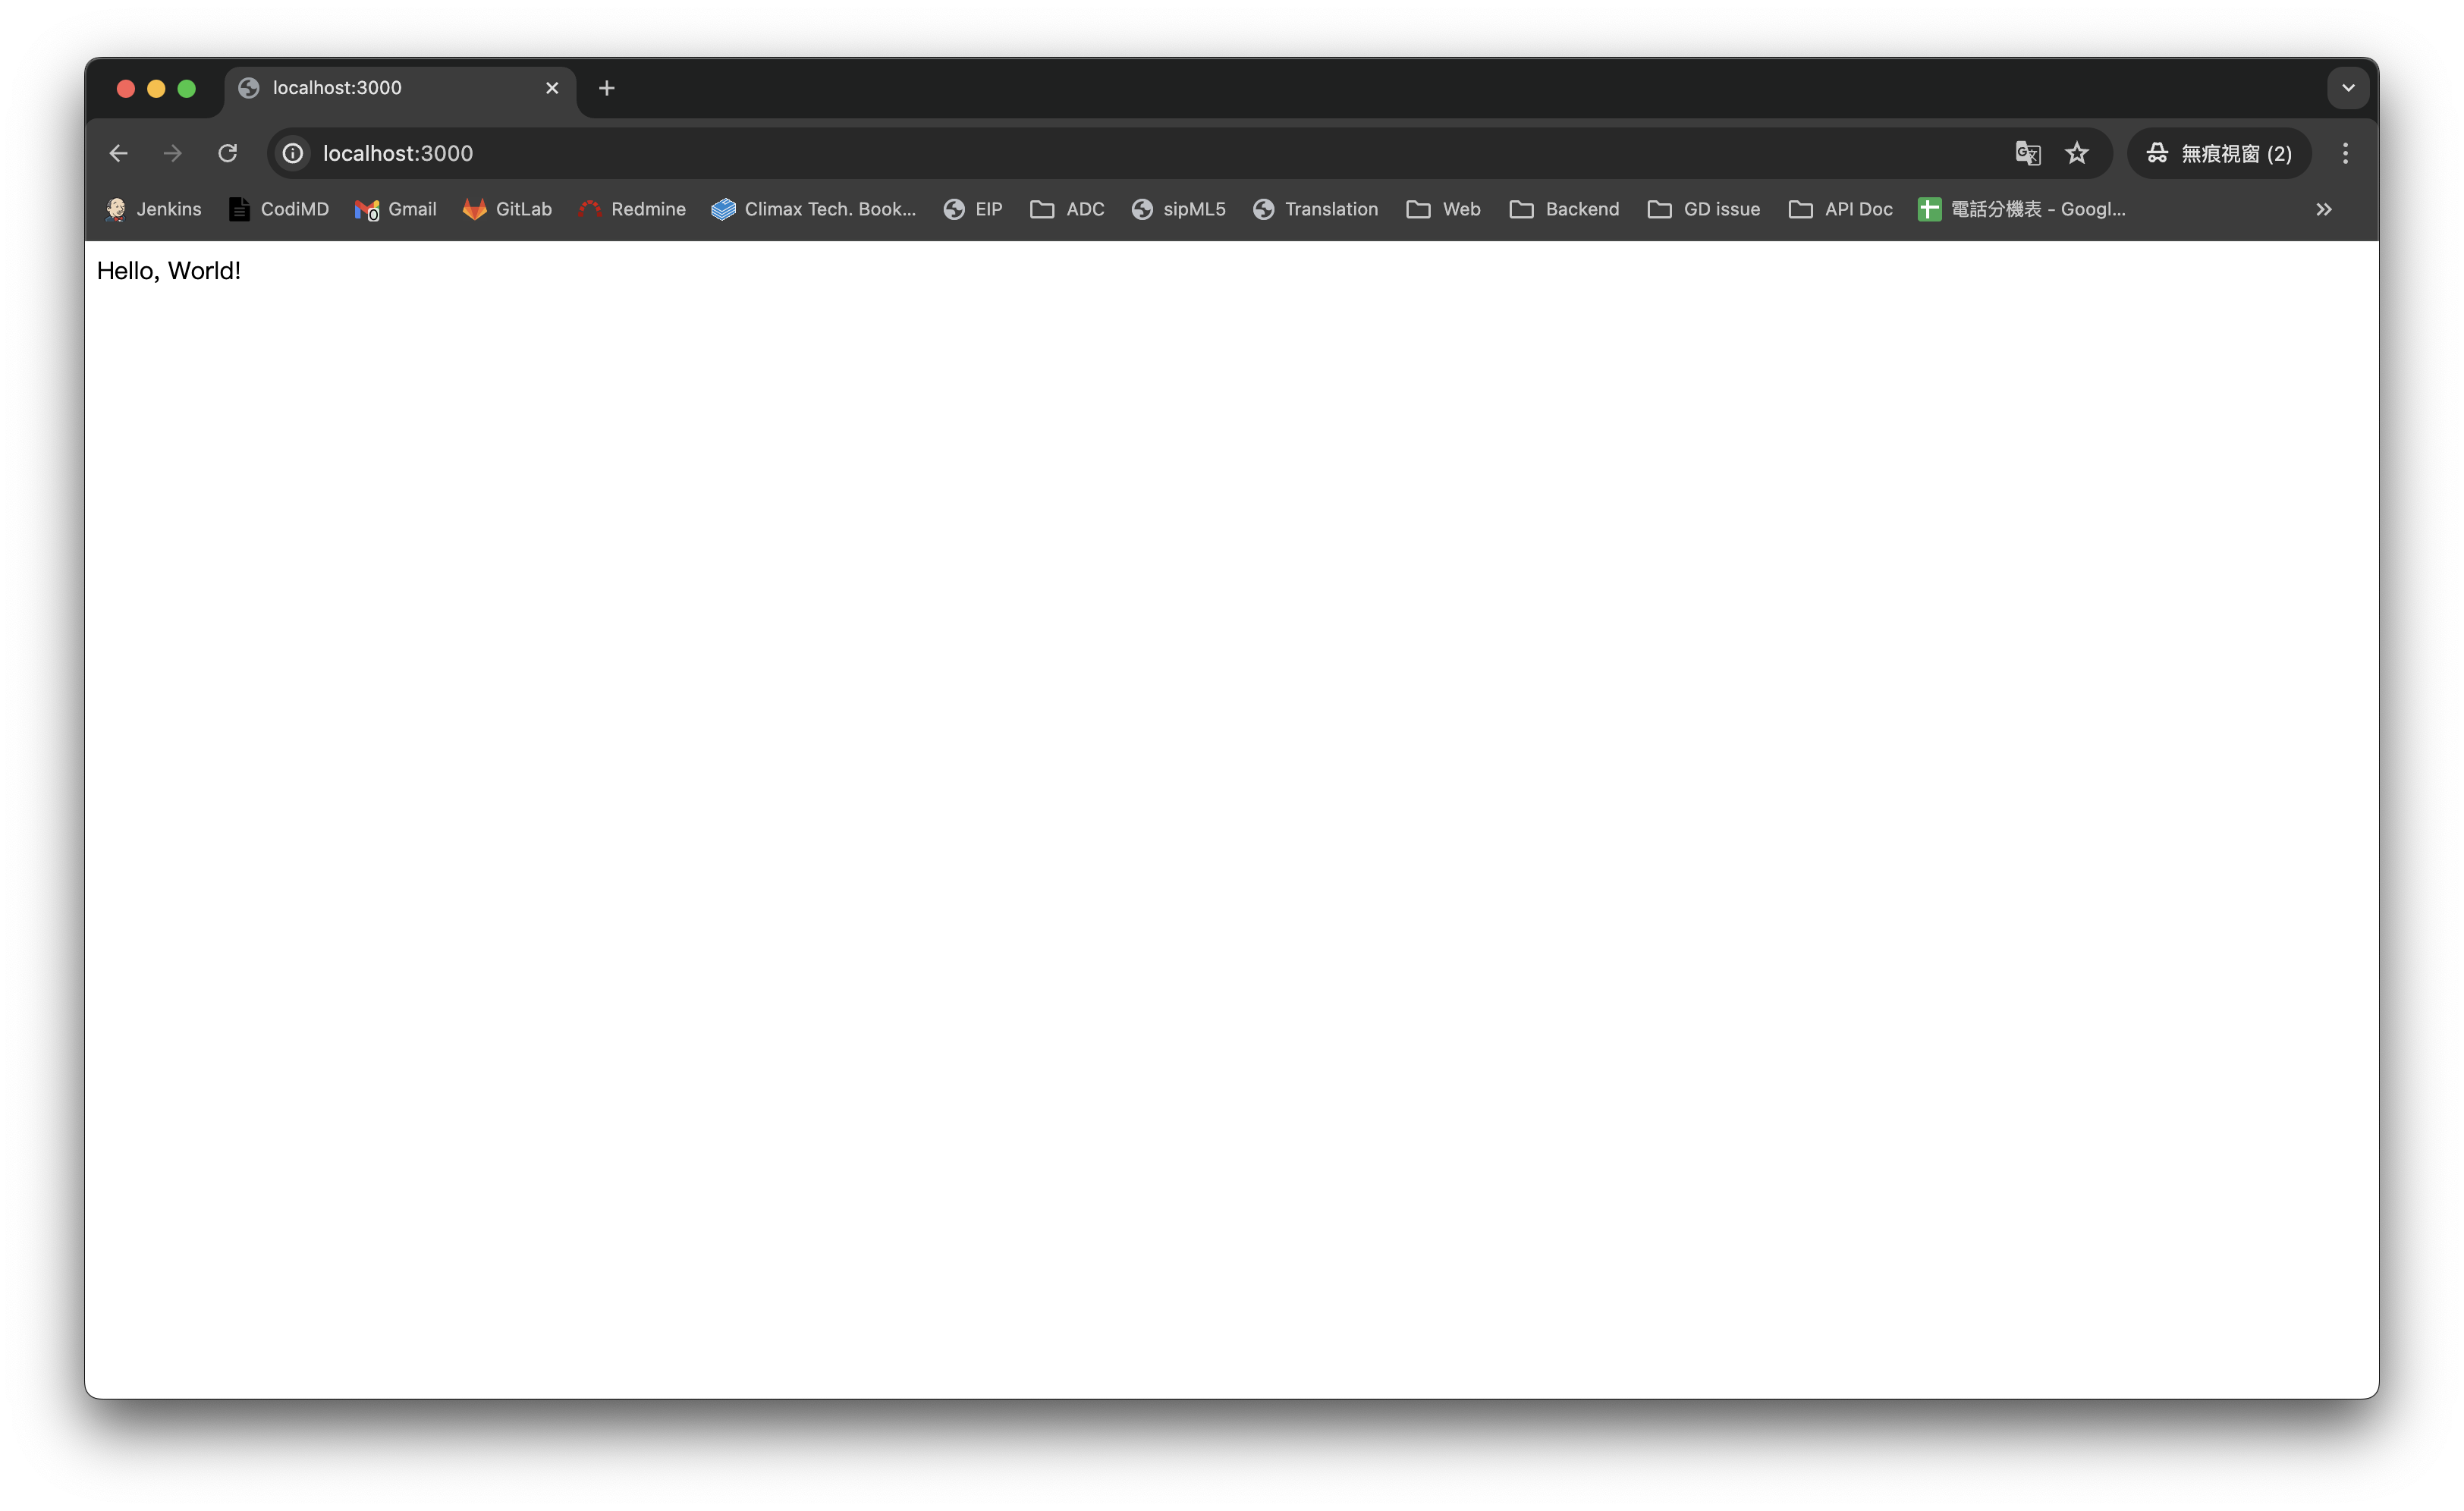
Open localhost:3000 in your browser to see the output:

🐳 Creating a Dockerfile
Now let’s containerize our application:
vim Dockerfile
Dockerfile Content:
FROM node:latest
WORKDIR /usr/src/app
COPY package*.json app.js ./
RUN npm install
EXPOSE 3000
CMD ["node", "app.js"]
Dockerfile Explanation:
- FROM node:latest - Uses the latest Node.js base image
- WORKDIR /usr/src/app - Sets the working directory
- COPY package*.json app.js ./ - Copies dependency files and application
- RUN npm install - Installs dependencies
- EXPOSE 3000 - Exposes port 3000
- CMD [“node”, “app.js”] - Runs the application
📤 Uploading Docker Images to GitHub Container Registry
After creating the Dockerfile, there are two ways to upload images to GitHub Container Registry:
- Manual upload using command line
- Automated upload using GitHub Actions
Let’s explore both methods:
🔧 Method 1: Manual Command Line Upload
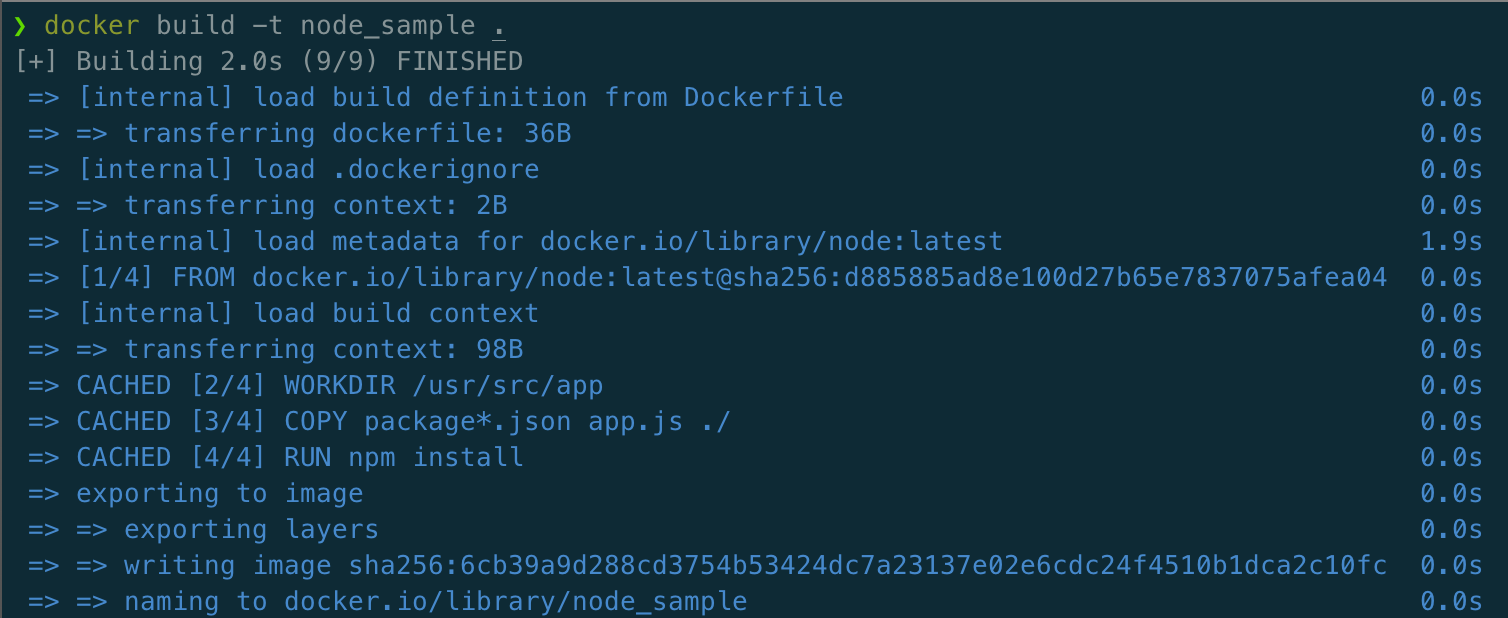
Step 1: Build Docker Image
docker build -t node_sample .

Step 2: Verify Image Creation
docker images

Step 3: Tag Image for GitHub Container Registry
docker tag node_sample:latest ghcr.io/{NAMESPACE}/node_sample:latest
⚠️ Important: Replace
{NAMESPACE}with your GitHub username.
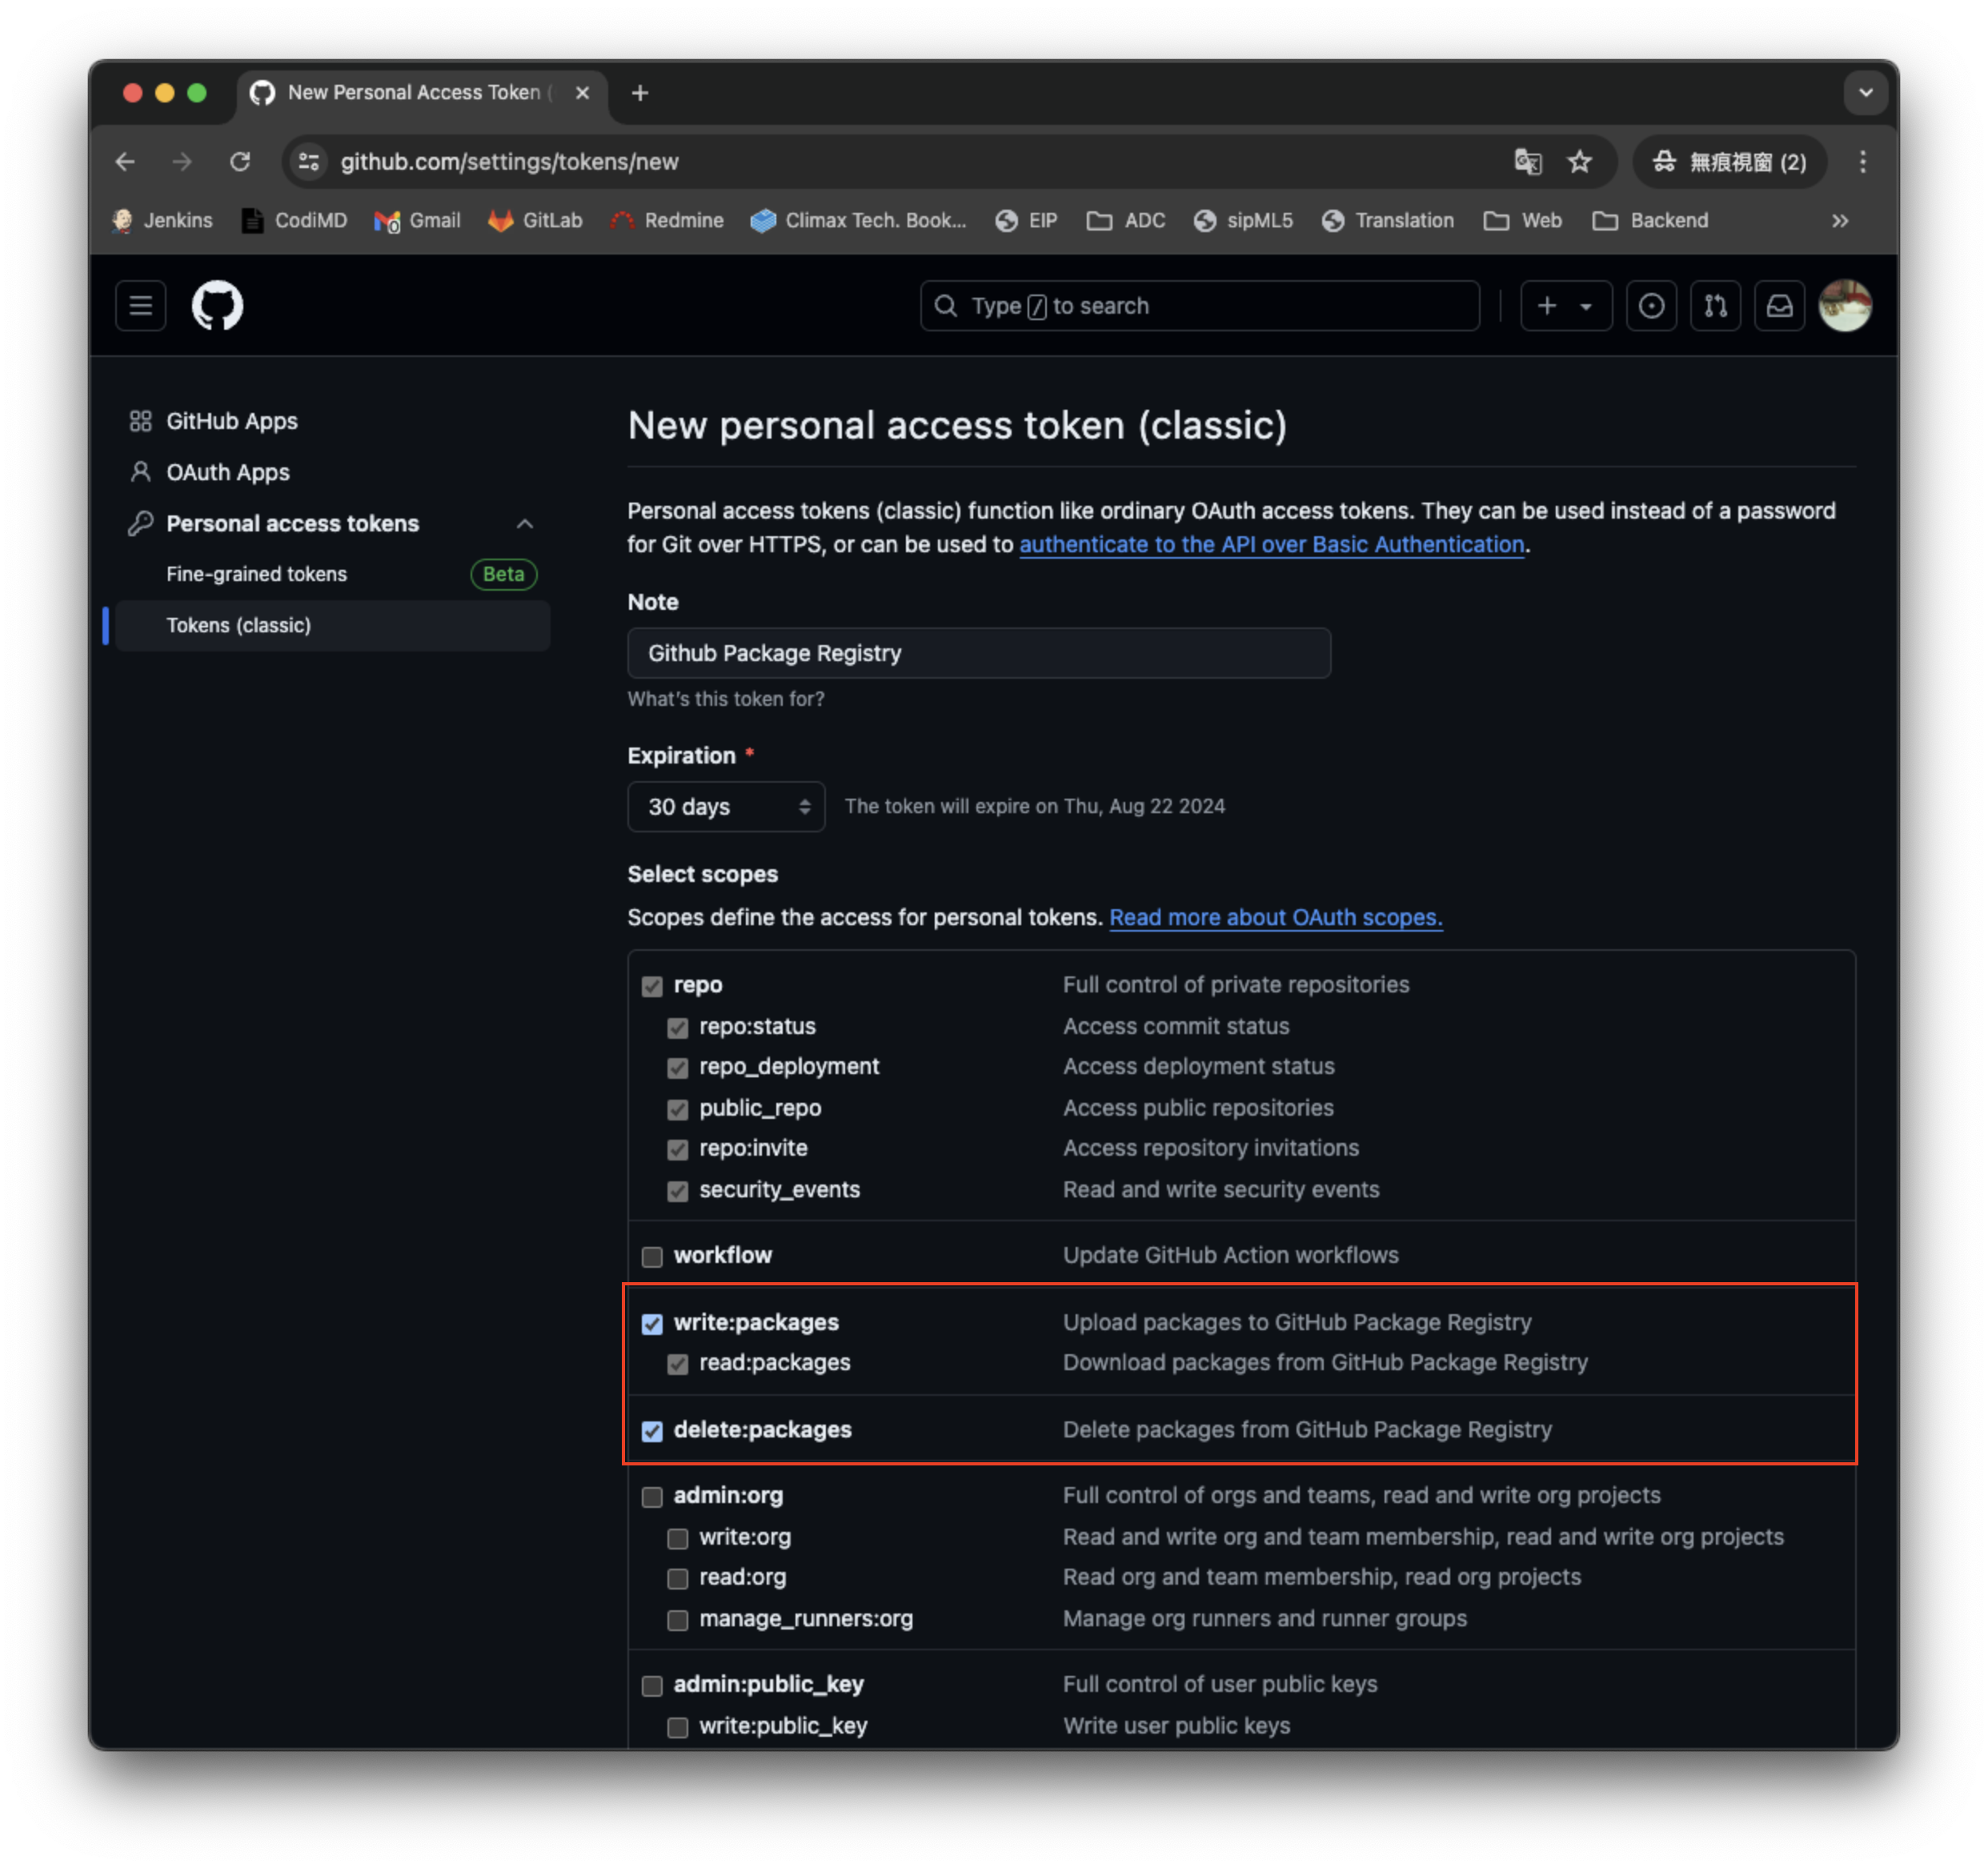
Step 4: Generate Personal Access Token
Before logging into GitHub Container Registry, you need to generate a GITHUB_TOKEN:
- Go to GitHub → Profile (top right) → Settings
- Navigate to Developer settings → Personal access tokens → Tokens (classic)
- Click Generate new token
Required Permissions:
- ✅
write:packages- Upload packages - ✅
read:packages- Download packages - ✅
delete:packages- Delete packages (optional)

Step 5: Login to GitHub Container Registry
export CR_PAT=YOUR_TOKEN
echo $CR_PAT | docker login ghcr.io -u USERNAME --password-stdin
Expected Output: Login Succeeded 🎉
Step 6: Push Image to Registry
docker push ghcr.io/{NAMESPACE}/node_sample:latest

⚡ Method 2: GitHub Actions Automation
Using GitHub Actions is more efficient and automated. Create the following file in your node_sample directory:
Create GitHub Actions Workflow
mkdir -p .github/workflows
vim .github/workflows/deploy-image.yml
Workflow Configuration:
name: Build and Push Docker Image

on:
  push:
    branches: [main]
  pull_request:
    branches: [main]

env:
  REGISTRY: ghcr.io
  IMAGE_NAME: $

jobs:
  build:
    runs-on: ubuntu-latest
    permissions:
      contents: read
      packages: write

    steps:
      - name: Checkout repository
        uses: actions/checkout@v4

      - name: Log in to Container Registry
        uses: docker/login-action@v3
        with:
          registry: $
          username: $
          password: $

      - name: Extract metadata
        id: meta
        uses: docker/metadata-action@v5
        with:
          images: $/$

      - name: Build and push Docker image
        uses: docker/build-push-action@v5
        with:
          context: .
          push: true
          tags: $
          labels: $
🔍 Verifying Your Container Registry
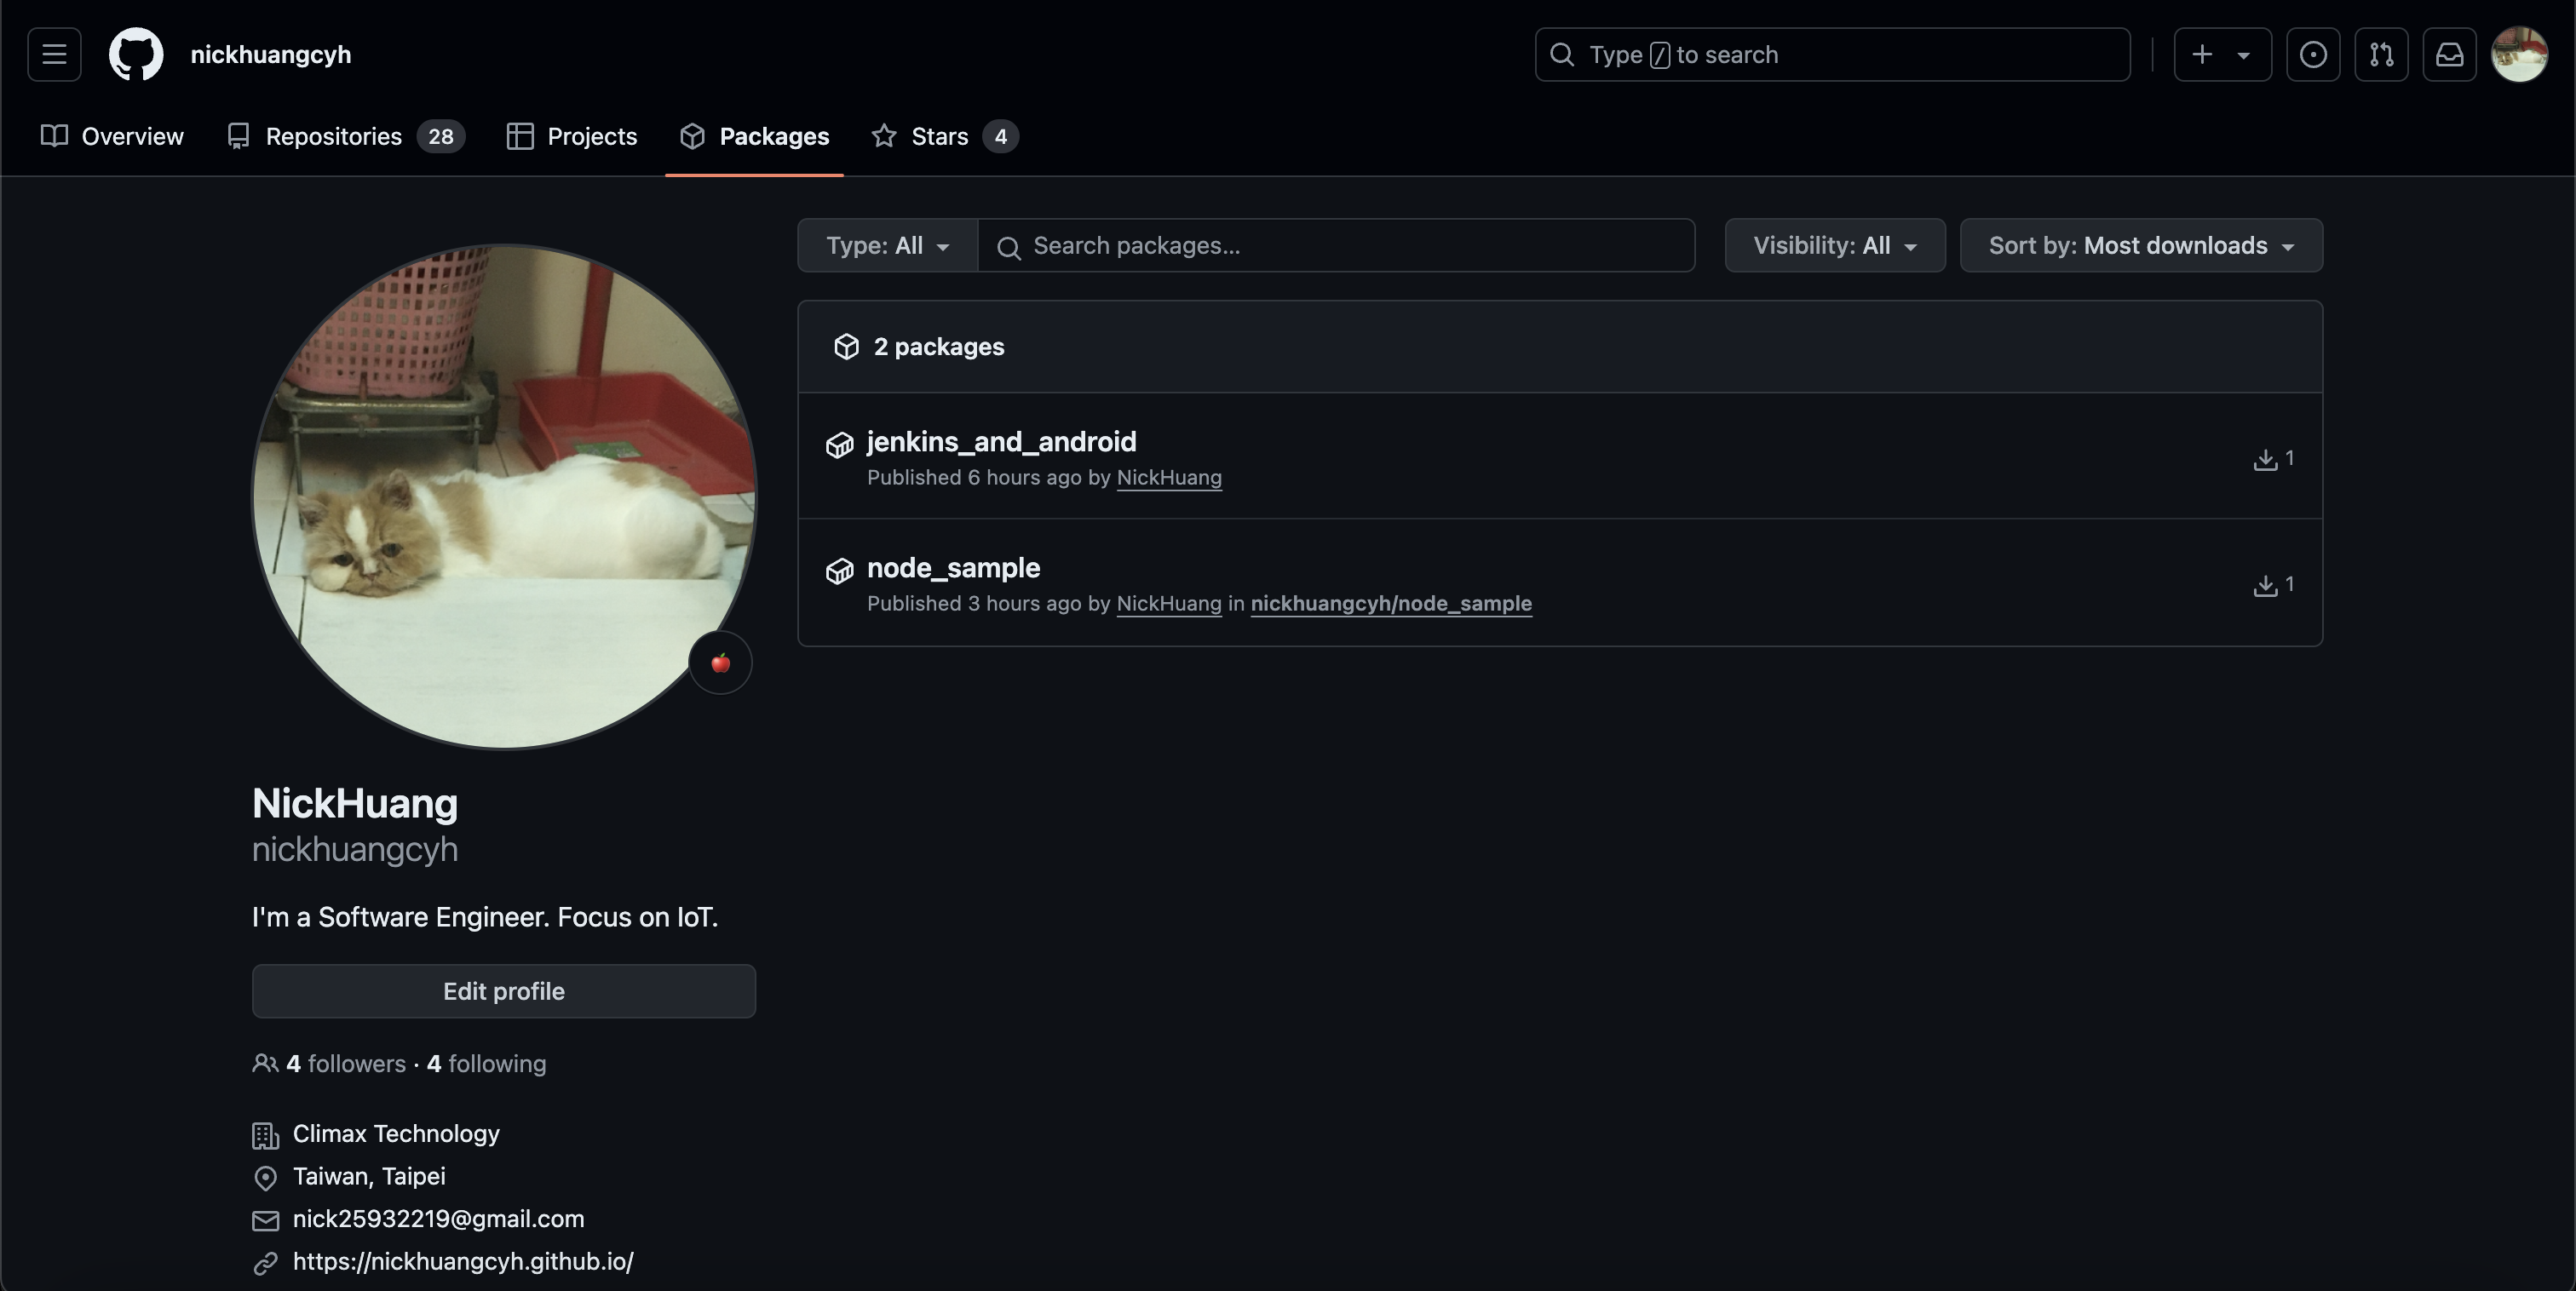
View Packages in GitHub
- Go to your GitHub profile
- Click on Packages tab
- You’ll see your uploaded container images
Pull and Run Your Image
# Pull the image
docker pull ghcr.io/{NAMESPACE}/node_sample:latest

# Run the container
docker run -p 3000:3000 ghcr.io/{NAMESPACE}/node_sample:latest
📊 GitHub Container Registry vs Docker Hub
| Feature | GitHub Container Registry | Docker Hub |
|---|---|---|
| Free Public Packages | ✅ Unlimited | ✅ Unlimited |
| Free Private Packages | ✅ 500MB/month | ❌ Paid only |
| GitHub Integration | ✅ Native | ⚠️ Limited |
| Vulnerability Scanning | ✅ Built-in | ✅ Available |
| Access Control | ✅ Fine-grained | ⚠️ Basic |
| CI/CD Integration | ✅ GitHub Actions | ⚠️ Third-party |
🛡️ Security Best Practices
1. Use Specific Base Images
# ❌ Avoid
FROM node:latest

# ✅ Prefer
FROM node:18-alpine
2. Implement Multi-stage Builds
# Build stage
FROM node:18-alpine AS builder
WORKDIR /app
COPY package*.json ./
RUN npm ci --only=production

# Production stage
FROM node:18-alpine
WORKDIR /app
COPY --from=builder /app/node_modules ./node_modules
COPY . .
EXPOSE 3000
CMD ["node", "app.js"]
3. Scan for Vulnerabilities
- name: Run Trivy vulnerability scanner
  uses: aquasecurity/trivy-action@master
  with:
    image-ref: $/$:$
    format: "sarif"
    output: "trivy-results.sarif"
🚨 Common Issues and Solutions
Issue: Authentication Failed
Error: unauthorized: authentication required
Solution:
# Ensure token has correct permissions
# Check username and token are correct
echo $CR_PAT | docker login ghcr.io -u USERNAME --password-stdin
Issue: Permission Denied
Error: denied: permission_denied
Solution:
- Verify package visibility settings
- Check repository permissions
- Ensure GitHub token has required scopes
Issue: Image Not Found
Error: manifest for ghcr.io/user/image:tag not found
Solution:
- Verify image name and tag
- Check if image was successfully pushed
- Ensure correct namespace
📈 Advanced Usage Scenarios
1. Multi-Architecture Images
- name: Build and push multi-arch image
  uses: docker/build-push-action@v5
  with:
    context: .
    platforms: linux/amd64,linux/arm64
    push: true
    tags: $
2. Automated Versioning
- name: Generate version tag
  id: version
  run: echo "::set-output name=version::$(date +'%Y%m%d')-$(git rev-parse --short HEAD)"
3. Conditional Publishing
- name: Push to Registry
  if: github.ref == 'refs/heads/main'
  run: docker push $/$:$
🔗 Related Articles
- Complete Git Workflow Guide
- macOS Development Environment Setup
- Jenkins Server Configuration
- SSH Key Management
✅ Conclusion
GitHub Container Registry provides a powerful, integrated solution for managing container images within the GitHub ecosystem. By following this guide, you’ve learned how to:
Key Achievements:
- 🐳 Create and manage Docker images effectively
- 🔧 Set up automated workflows with GitHub Actions
- 🔐 Implement security best practices for container images
- 📦 Integrate container management into your CI/CD pipeline
Next Steps:
- Explore advanced features like vulnerability scanning
- Implement multi-architecture builds for broader compatibility
- Set up automated testing for your container images
- Consider implementing container image signing for enhanced security
💡 Pro Tip: Use GitHub Container Registry’s built-in vulnerability scanning to automatically detect security issues in your container images.
🔔 Stay Updated: Follow our DevOps series for more container and CI/CD insights!
📚 Additional Resources:
Enjoy Reading This Article?
Here are some more articles you might like to read next: