Jenkins (2) Complete Server Setup Guide: Docker Environment Quick Deployment Tutorial
How to Set Up Jenkins Server
In the previous article, we learned about Jenkins’ basic concepts and core features. Now, let’s enter the practical phase and learn how to set up our own Jenkins server.
This article will introduce the method of setting up Jenkins using Docker. We choose Docker for three reasons:
- Environment Consistency: You can get the same execution environment on Windows, macOS, or Linux
- Quick Deployment: Installation can be completed with just a few commands, eliminating complex environment configuration
- Easy Maintenance: You can easily upgrade, backup, or redeploy
Step 1: Pull Docker Image
Before starting, please ensure that Docker is installed on your computer. If not yet installed, please go to the Docker official website to download and install it.
Next, we need to pull the Jenkins Docker image from the official repository. Open your terminal (or command prompt) and execute one of the following commands:
Option 1: Standard Jenkins Environment
docker pull jenkins/jenkins:lts-jdk17
This is the official maintained standard Jenkins image, including Java 17 runtime environment, suitable for most general purposes.
Option 2: Jenkins + Android Build Environment
docker pull ghcr.io/nickhuangcyh/docker-jenkins-and-android-env:v1.0.0-jdk17
This is a customized image that includes Android build tools. If you need to build Android applications, we recommend using this version.
Step 2: Run Jenkins Container
Now we’re going to start the Jenkins container. Before executing the command, please prepare a local folder to store Jenkins data, so that even if the container restarts, your settings and data won’t be lost.
Prepare Data Storage Directory
First, create a folder to store Jenkins data:
# Create jenkins_home folder in your home directory
mkdir ~/jenkins_home
Start Container
Based on the image you chose in step 1, execute the corresponding command:
Using Standard Jenkins Environment:
docker run -d \
  --name jenkins \
  -v ~/jenkins_home:/var/jenkins_home \
  -p 8080:8080 \
  -p 50000:50000 \
  jenkins/jenkins:lts-jdk17
Using Jenkins + Android Environment:
docker run -d \
  --name jenkins \
  -v ~/jenkins_home:/var/jenkins_home \
  -p 8080:8080 \
  -p 50000:50000 \
  ghcr.io/nickhuangcyh/docker-jenkins-and-android-env:v1.0.0-jdk17
Parameter Explanation
Let’s understand the meaning of these parameters:
-
-d: Run the container in the background -
--name jenkins: Give the container a name for easier management later -
-v ~/jenkins_home:/var/jenkins_home: Mount the local folder to the Jenkins data directory inside the container -
-p 8080:8080: Map container port 8080 to local port 8080, used for accessing Jenkins Web interface -
-p 50000:50000: Map container port 50000 to local, used for Jenkins Agent communication
Step 3: Access Jenkins
After the container starts, we need to wait for Jenkins to fully load. You can use the following command to check container status:
docker logs jenkins
When you see a message like Jenkins is fully up and running, it means Jenkins is ready.
Open Jenkins Web Interface
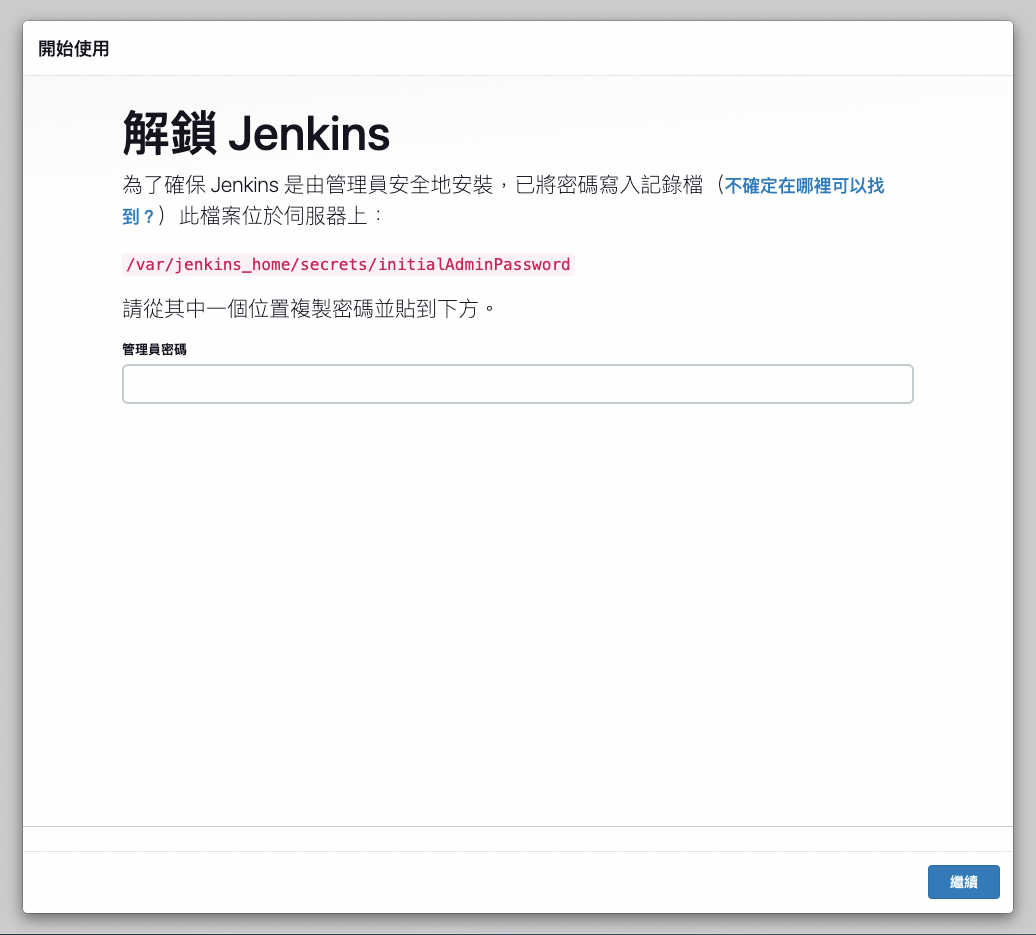
Open http://localhost:8080 in your browser to access Jenkins’ Web interface. When accessing for the first time, you’ll see a page asking for the initial administrator password.

Get Initial Password
There are two ways to get the initial administrator password:
Method 1: Get from Docker logs
docker logs jenkins | grep -A 5 -B 5 "password"
Method 2: Get from stored file
cat ~/jenkins_home/secrets/initialAdminPassword
TIP
Remember the data storage directory
~/jenkins_homewe set in step 2? The initial password is stored in thesecrets/initialAdminPasswordfile under this directory.
Complete Initial Setup
- Enter Password: Input the obtained password into the password field
- Install Plugins: We recommend selecting “Install suggested plugins” to install commonly used plugins
- Create Admin Account: Set your administrator username and password
- Set Jenkins URL: Usually keep the default value
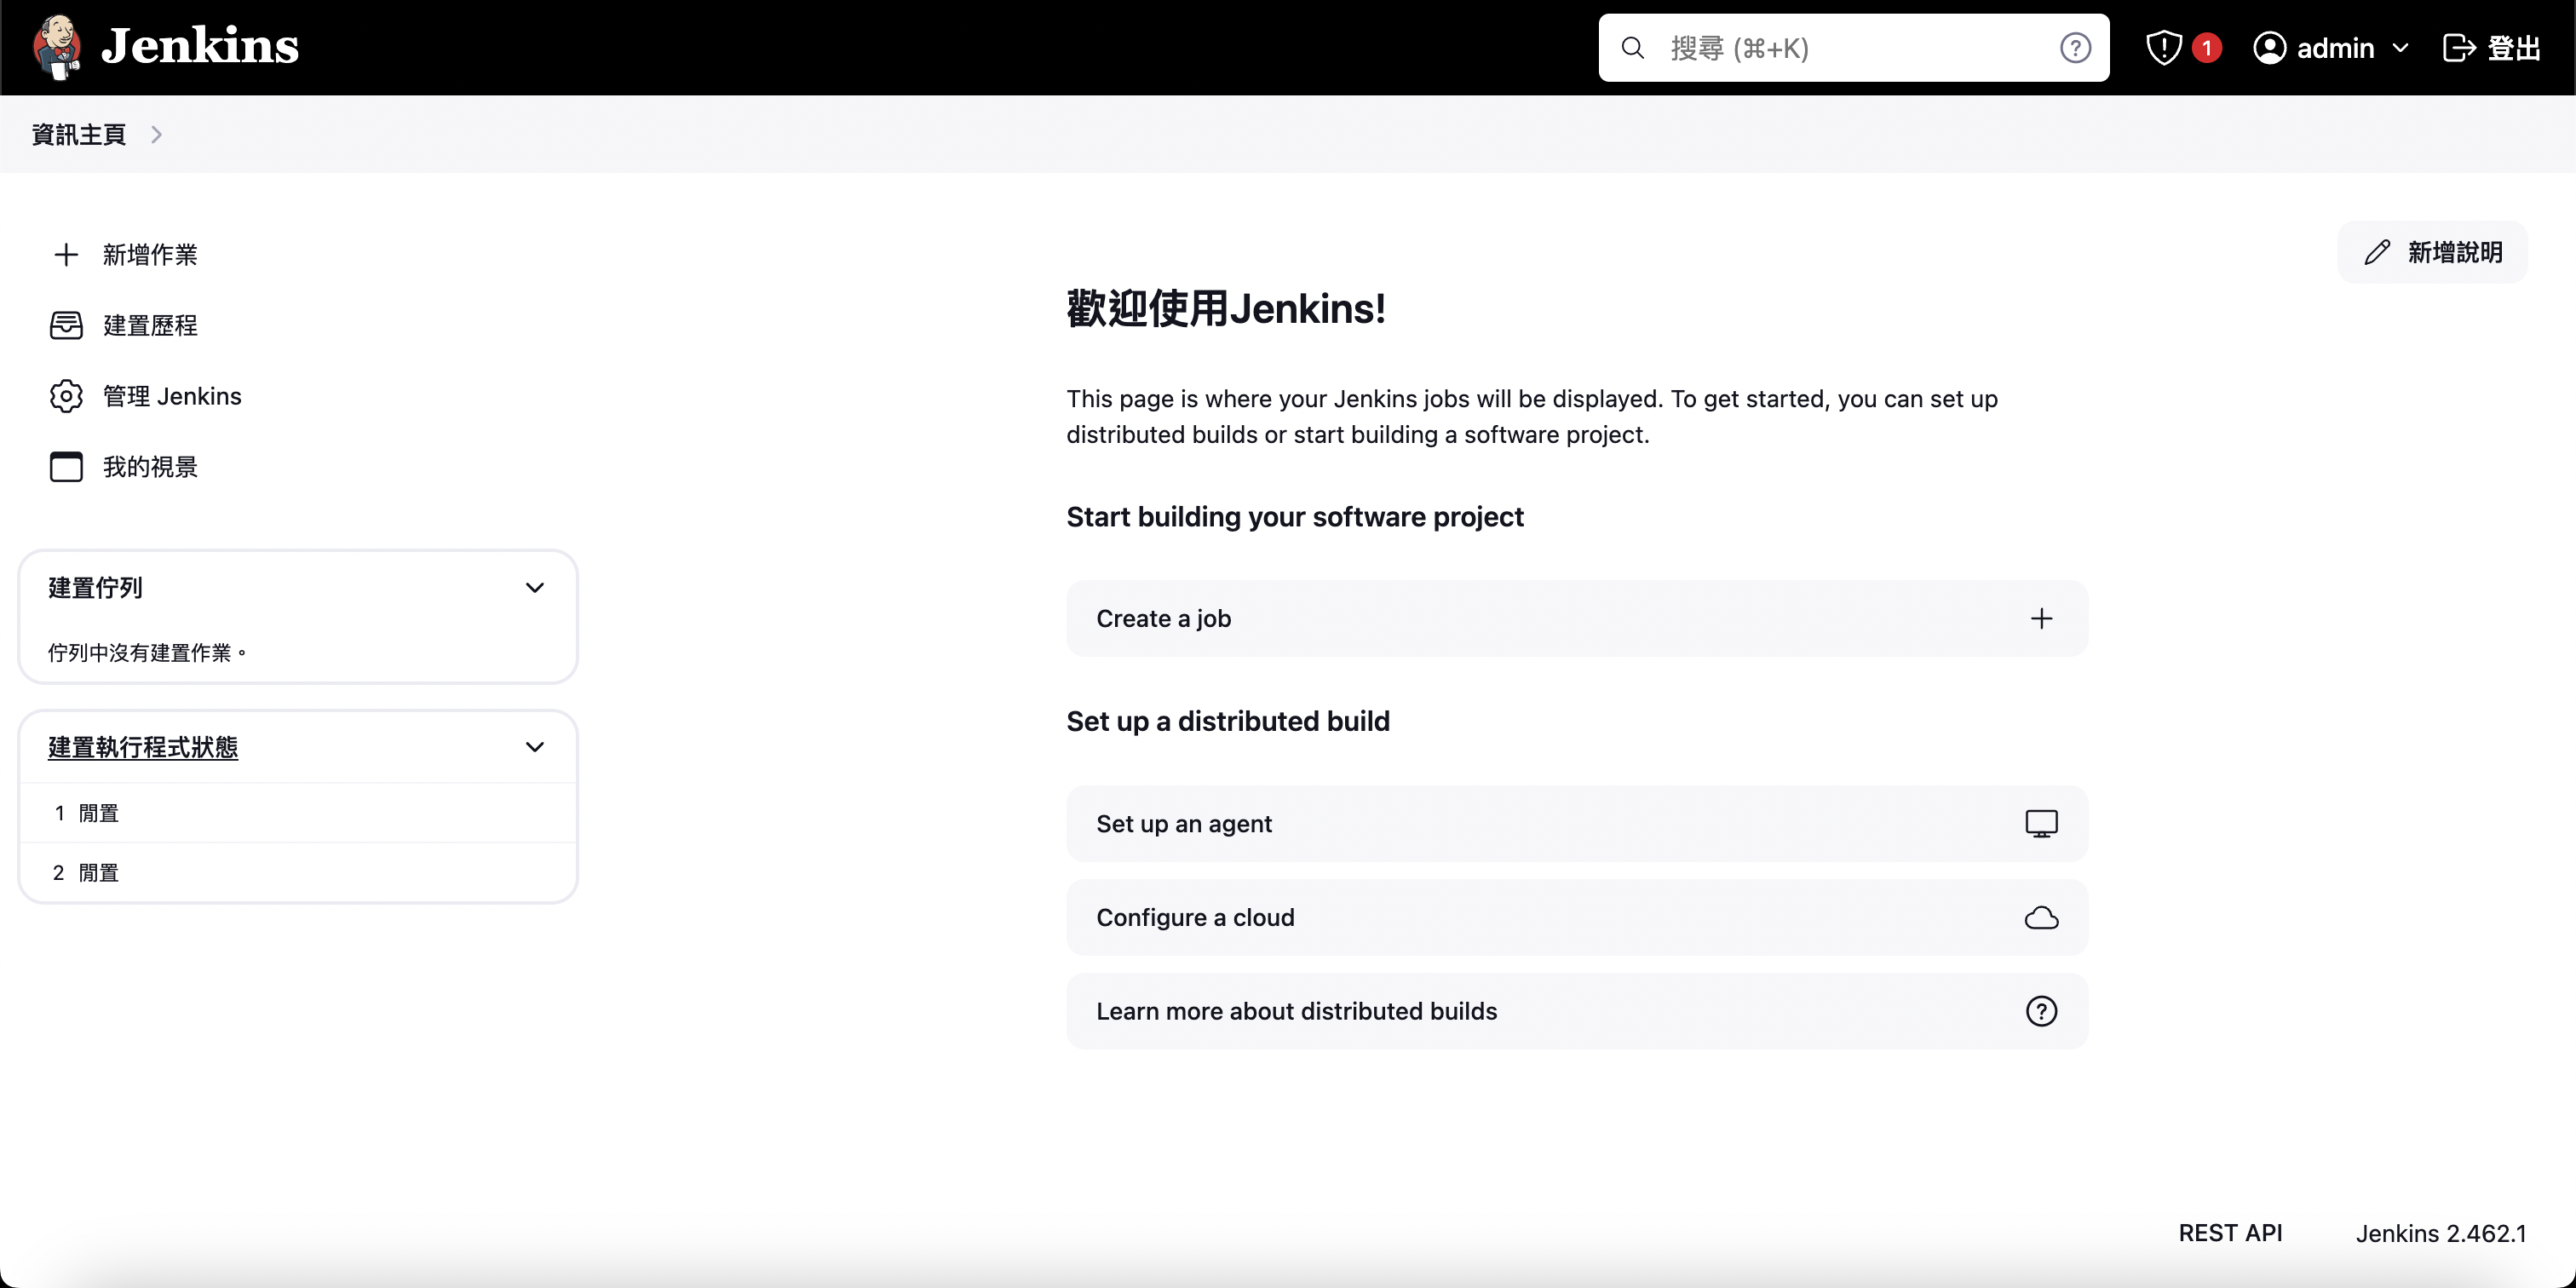
After completing these steps, you have successfully set up Jenkins!

Summary
Congratulations! Through this article, we have successfully completed Jenkins server setup. Let’s review the important steps we completed:
What We Accomplished
- Chose Appropriate Docker Image: Selected standard version or version with Android environment based on needs
- Correctly Configured Container Parameters: Including important settings like data persistence and port mapping
- Completed Initial Setup Process: From getting password to installing plugins, establishing complete Jenkins environment
Advantages of Using Docker
- Quick Deployment: Complete installation process with just a few commands
- Environment Isolation: Won’t affect your local system environment
- Easy Maintenance: Easy to backup, restore, or upgrade
Next Steps
Now you have a running Jenkins server. Next, we will learn how to configure the credential system to enable Jenkins to securely pull code from Git repositories. This is a crucial step in implementing automated build processes.
Ready to move to the next stage? Let’s continue exploring Jenkins’ powerful features!
Jenkins Series Article Navigation
- Jenkins (1) What is Jenkins - Jenkins basic concepts and core feature introduction ✅
- Jenkins (2) Complete Server Setup Guide ← You are reading ✅
- Jenkins (3) Complete SSH Credentials Configuration Guide - Next step: Setting up secure code access
Recommended Related Technical Articles
- Getting Started with GitHub Container Registry - Advanced container deployment applications
- Using SSH to Manage Multiple GitHub Accounts - Git multi-account management techniques
- Setting Up Development Environment on New macOS - Complete development environment building guide
TIP
For more information about Jenkins, please refer to the Jenkins Official Documentation.
Enjoy Reading This Article?
Here are some more articles you might like to read next: